Team
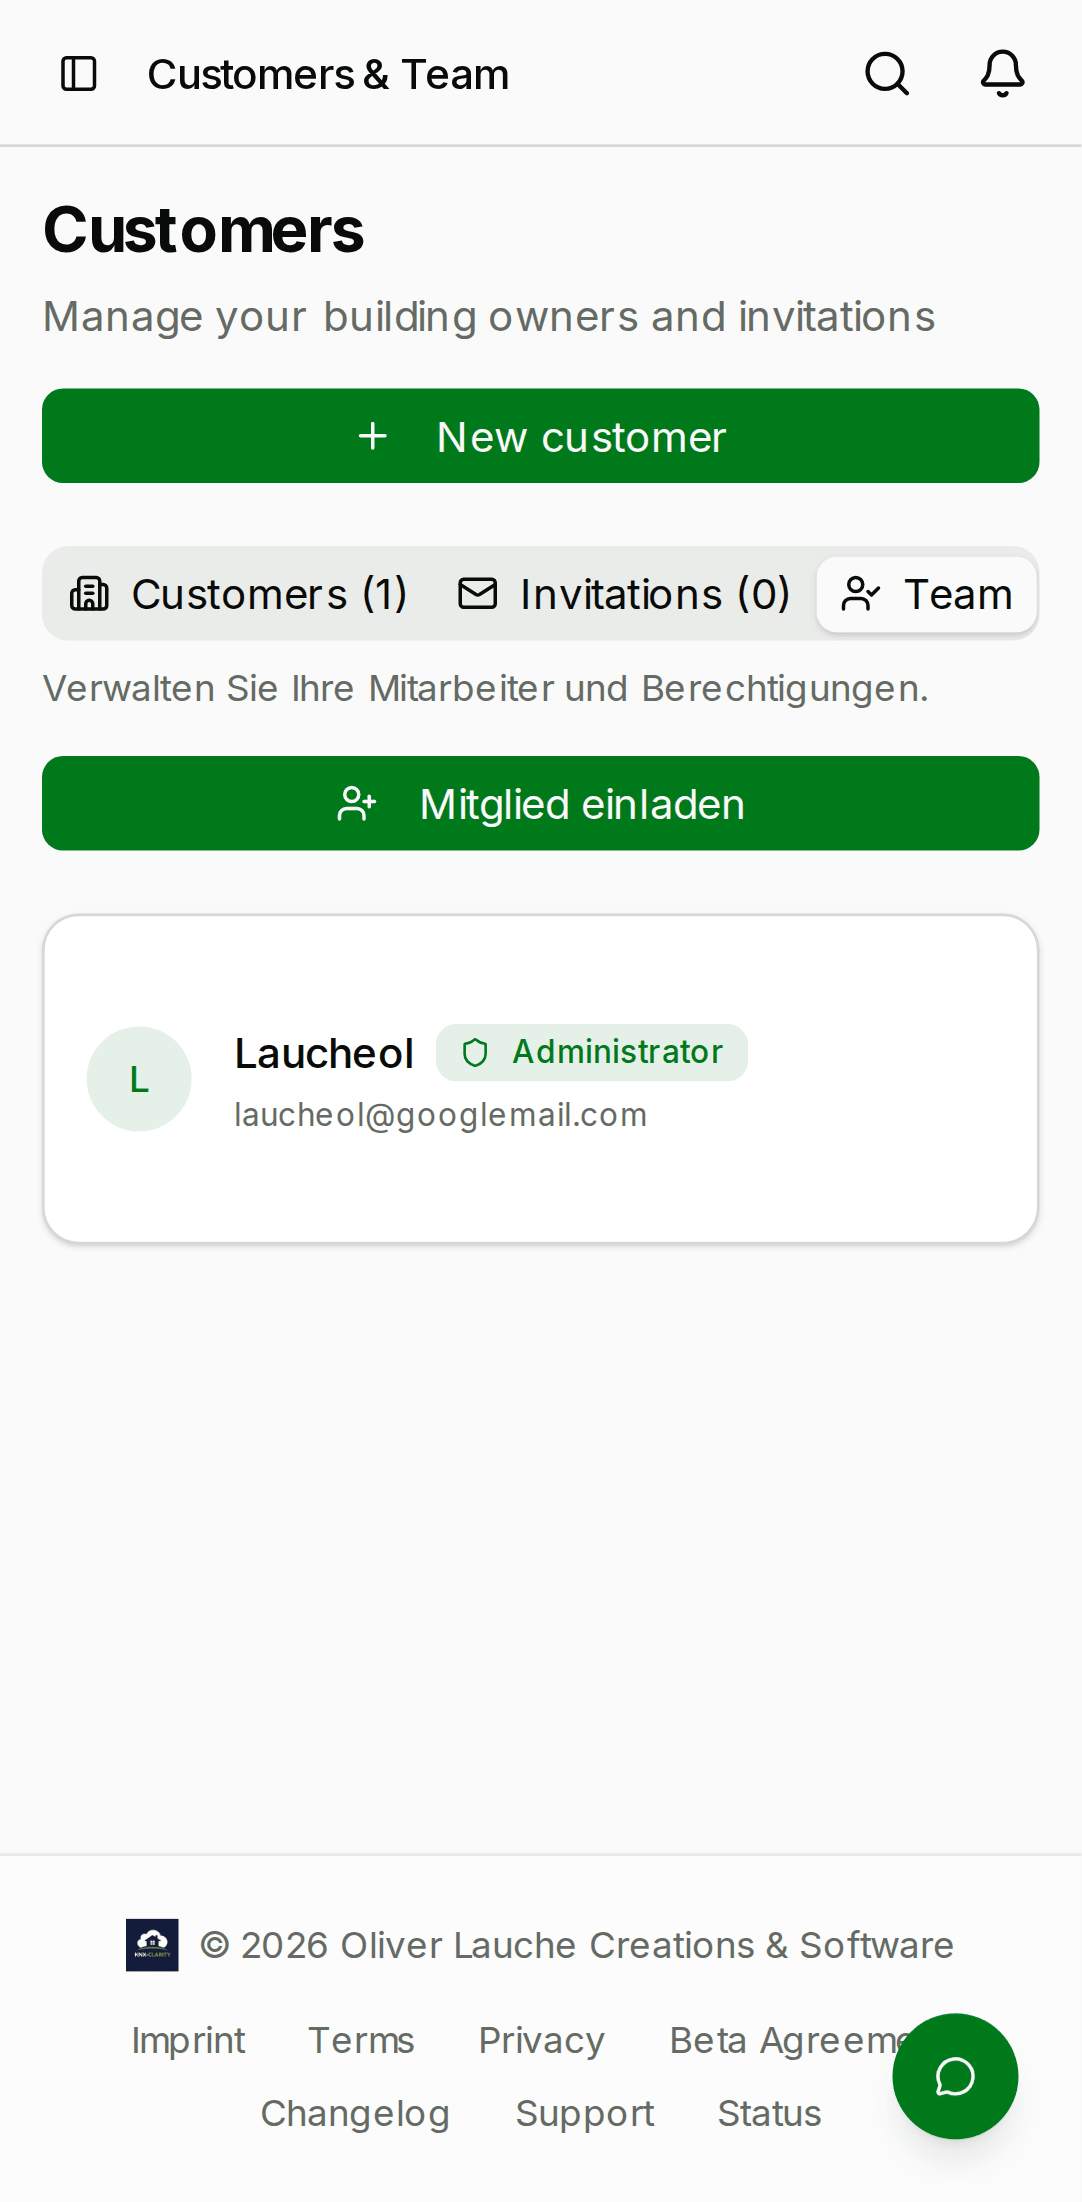
The Team page lists every member of your organisation and lets you invite new ones, change their roles, and remove them. It also shows any pending invitations so you can chase them up.
- Desktop
- Mobile

Member roles
Every row in the Members table has a memberRole. The role
controls what the user can do inside the organisation:
| Role | Can read | Can write | Can admin the org |
|---|---|---|---|
admin | everything | everything | yes |
technician | everything | projects, ETS, devices, service | no |
service | projects, service | service cases (create + comment) | no |
viewer | read-only | nothing | no |
- admin is the only role that can invite new members, change roles, remove members, or delete projects.
- technician is the default for most day-to-day integrators.
- service is intended for on-site field technicians who only need to pick up and resolve tickets.
- viewer is intended for back-office users who need to see progress but not touch anything.
The organisation owner (the account that created the org) is
always admin and cannot be demoted. If you need to transfer
ownership, add the new owner as admin and remove the old one —
the org continues to exist without an explicit "owner" field.
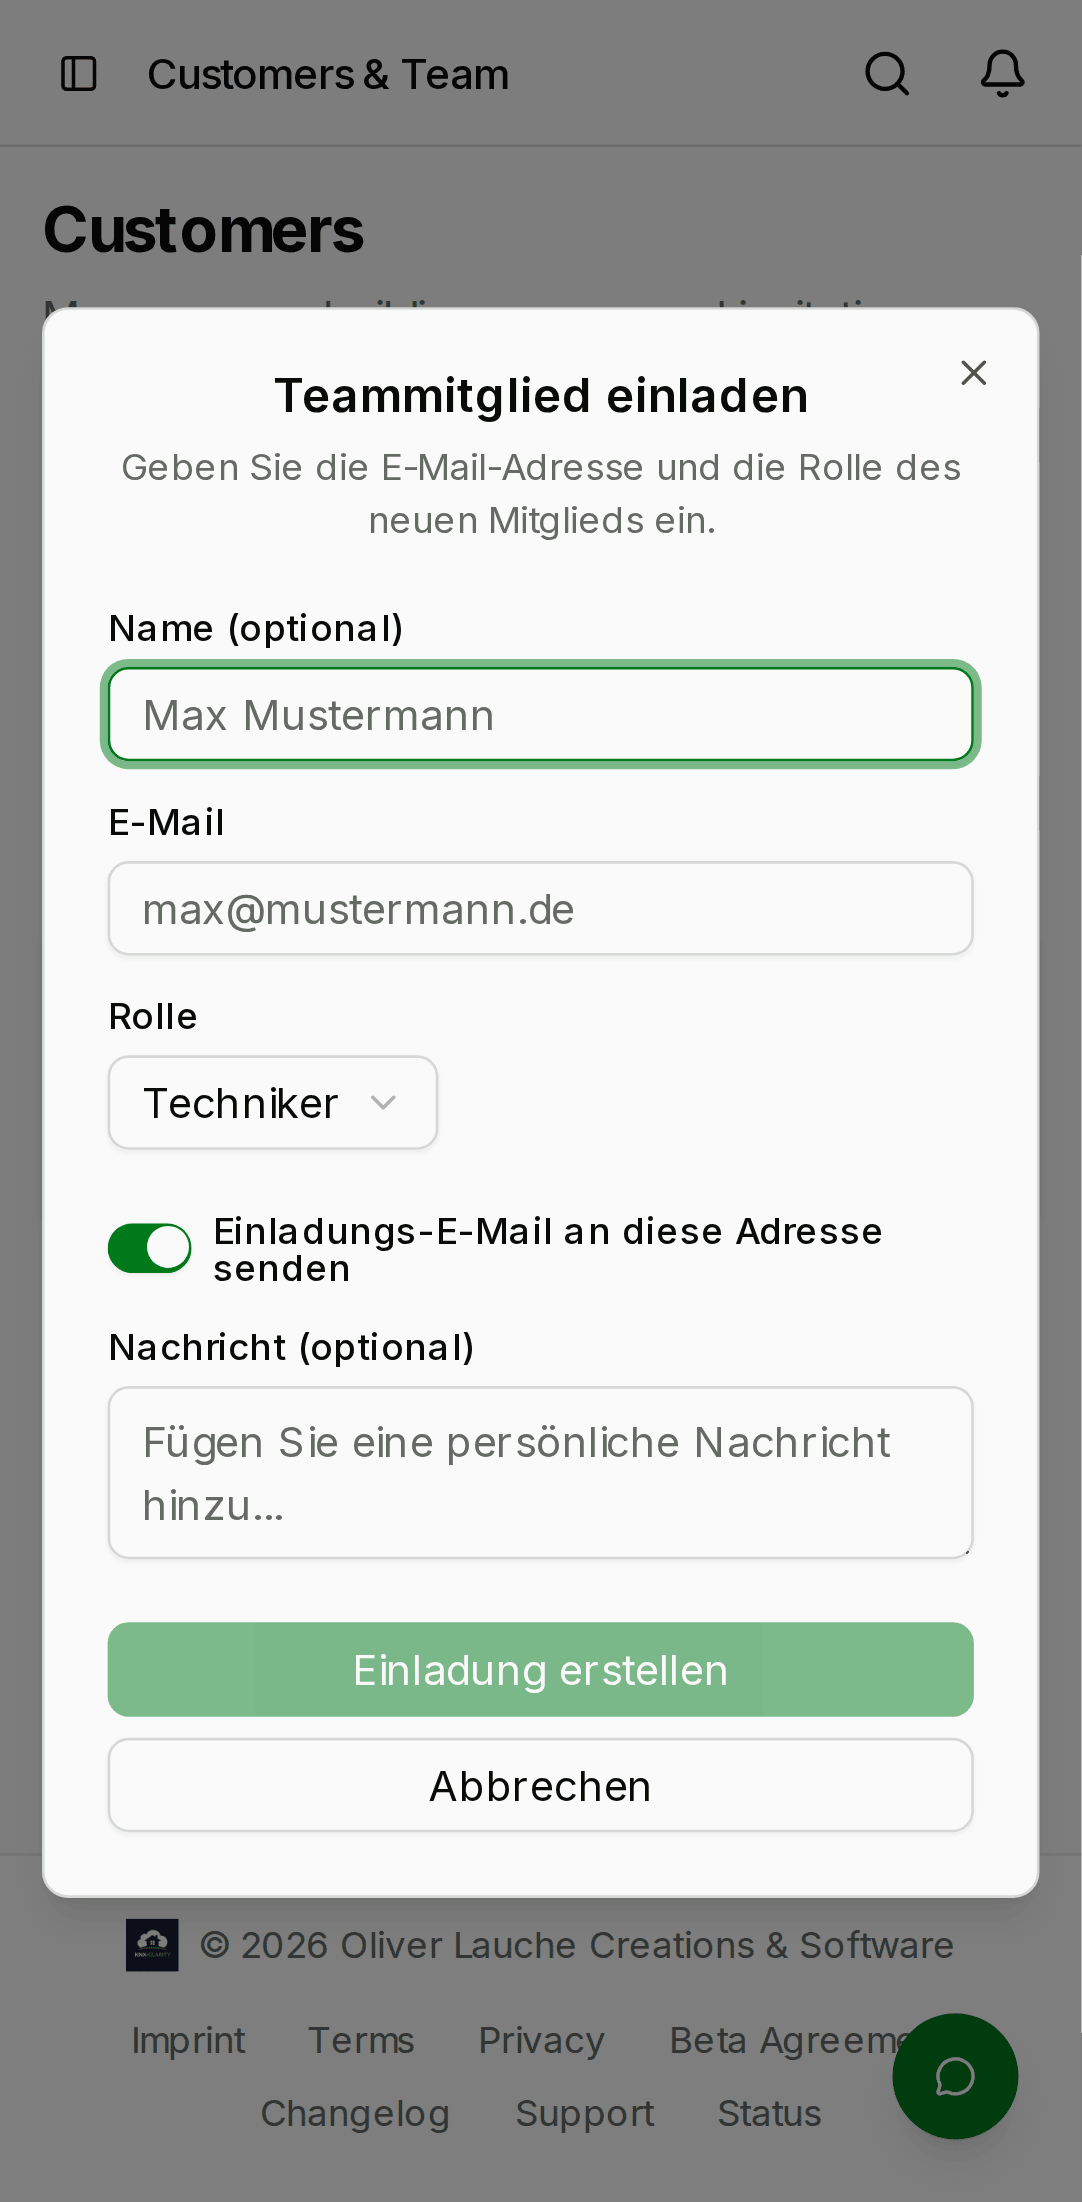
Inviting a member
Click Invite member in the top-right.
- Enter the invitee's email address.
- Pick a role from the dropdown (
admin,technician,service, orviewer). You can change this later. - Click Send invitation.
- Desktop
- Mobile

The invitee gets an email with a link. The link:
- expires after 14 days
- is single-use
- binds to the exact email address you typed — the invitee cannot accept it from a different account
The invitation shows up in the Pending invitations section of
the Team page. Each pending row has a ⋮ menu with:
- Resend — re-sends the invitation email with the same token.
- Copy link — copies the accept URL to your clipboard. Useful when email delivery is slow.
- Revoke — invalidates the token immediately.
Accepting an invitation
When the invitee clicks the link, they land on the Team Invite Accept page. If they aren't signed in, they're asked to sign up or sign in first. After signing in, the page shows:
- the organisation name
- the role they're being invited to
- an Accept / Decline button pair
Accepting attaches the user to the organisation and bounces them to the Dashboard — they're now a full member.
Changing a role
Click the role badge on a member row to open the role picker. Select a new role and click Save. Changes take effect immediately and are written to the audit log.
Role changes are a sensitive operation; only admin members can
do them, and every change is recorded with who did it and when.
See Audit log.
Removing a member
Click "⋮ → Remove" on a member row. A confirmation dialog asks you to type the member name exactly. Removal:
- detaches the user from the organisation
- revokes any in-flight service-case assignments
It does not delete the user's sign-in account — they can still sign in to any other organisation they're a member of.
Team size limits
Public beta organisations are capped at 25 members per org. If you hit the cap, contact support — we'll raise it manually while we work out the post-beta pricing tiers.