Getting started
This page walks you through requesting beta access, signing in, creating an organisation, and opening your first project. It should take less than five minutes from a clean browser once your beta access has been approved.
1. Request beta access
KNX Clarity is currently in a closed public beta. Before you can sign in, you need an approved account.
- Open knx-clarity.com.
- Click "Request access" on the landing page and fill in the short form (name, email, company, intended role).
- You'll receive an email with a sign-up link once your request has been approved. Approval is currently manual; please allow up to a couple of business days.
2. Sign in
Open knx-clarity.com and click "Sign in". For the beta, sign-in uses email and password. Single sign-on via external identity providers is not enabled yet.
- Desktop
- Mobile

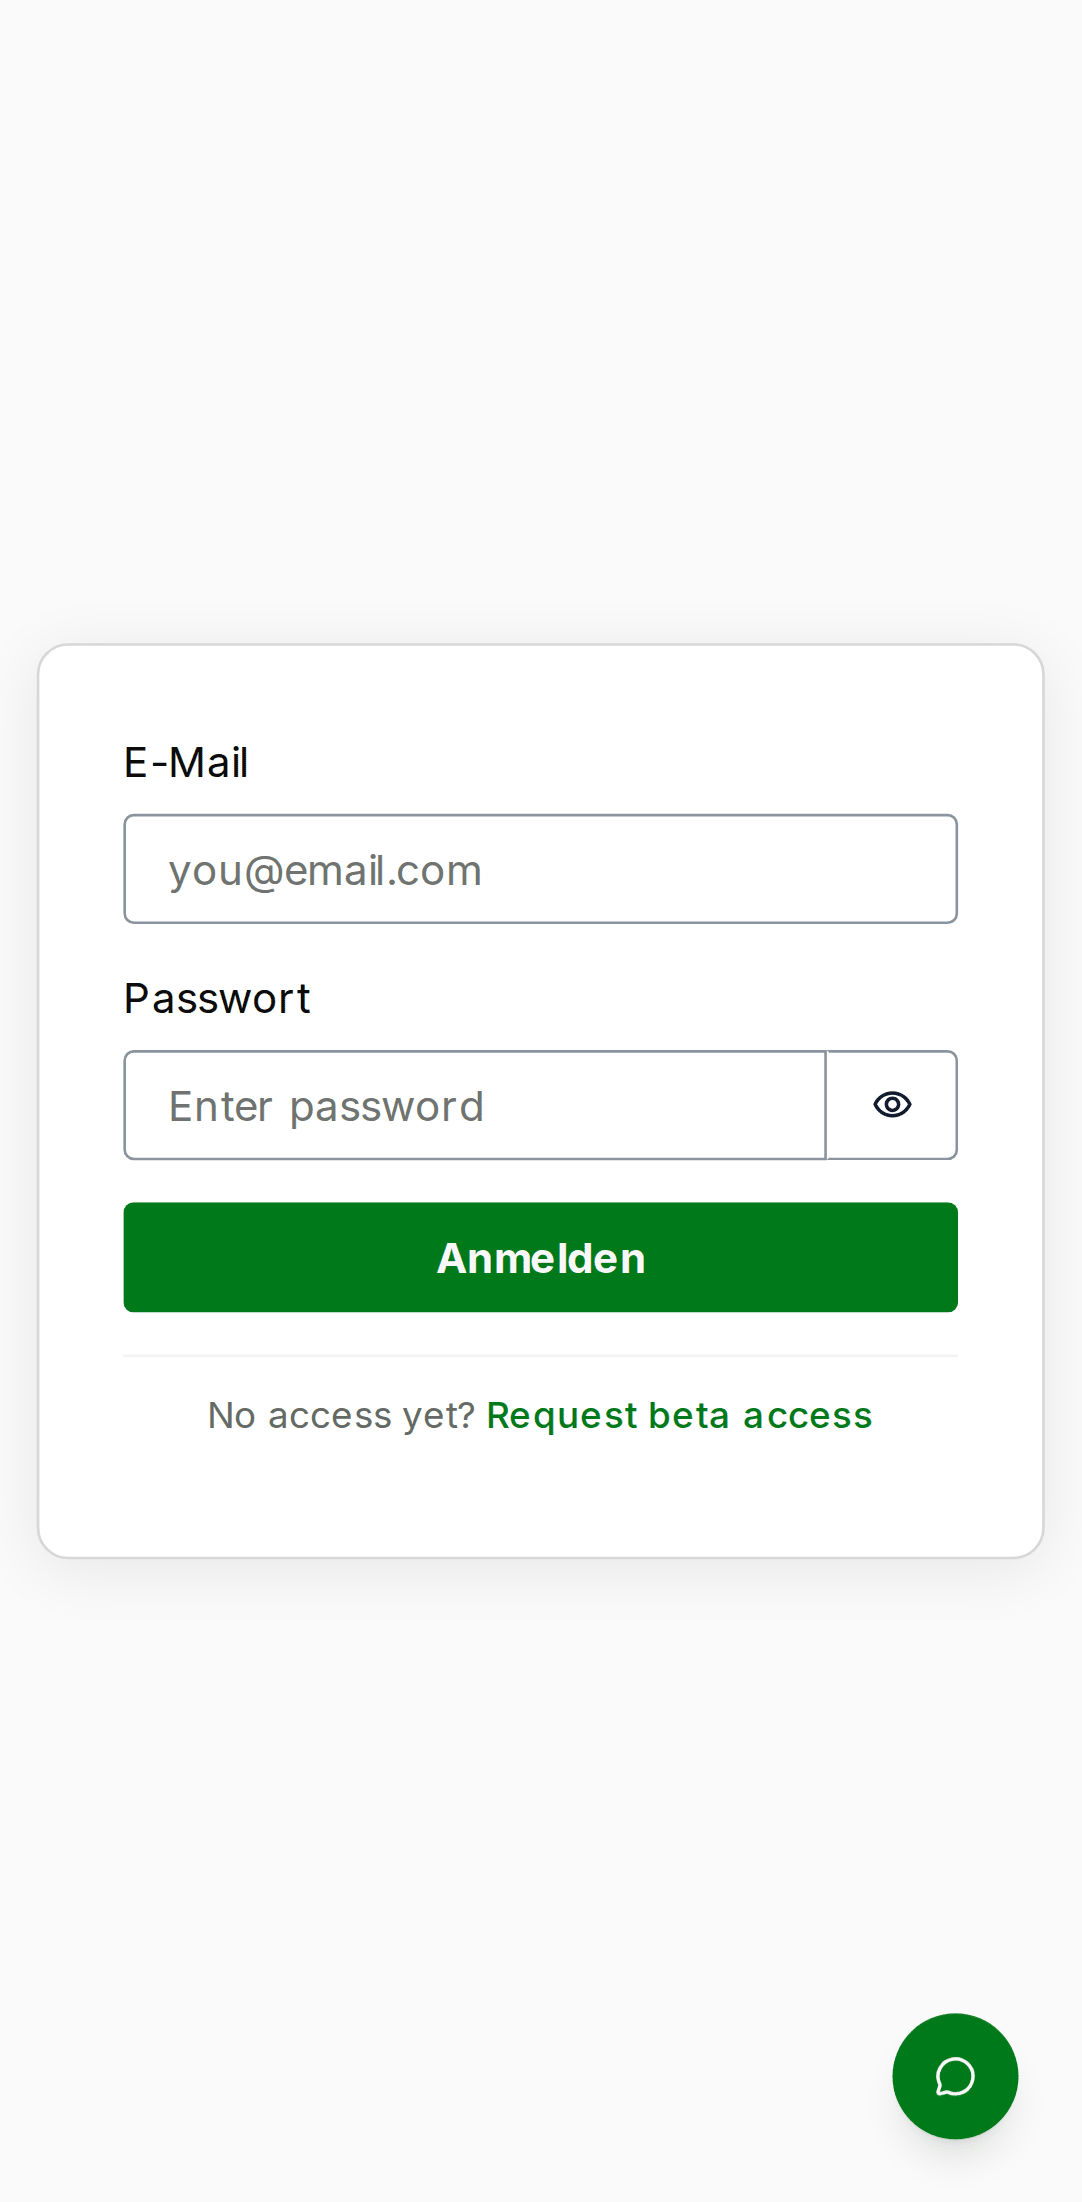
When you sign up with email and password, KNX Clarity sends a verification code to your inbox. Enter it within 10 minutes; if the code expires, click "Resend code".
For the public beta we require passwords that are at least 12 characters long and contain upper-case, lower-case, numeric, and symbol characters. You can enable MFA from Settings → Security after your first sign-in — we recommend it for admin accounts.
3. Create your organisation
Every project in KNX Clarity belongs to an organisation. An organisation is the unit of billing, auditing, and member management. You will probably only ever need one, unless you work for a holding company with multiple legal entities.
On first sign-in the app shows the "Set up your organisation" prompt. Give the org a name (usually your company name), optionally a description, and click "Create organisation".
- Desktop
- Mobile

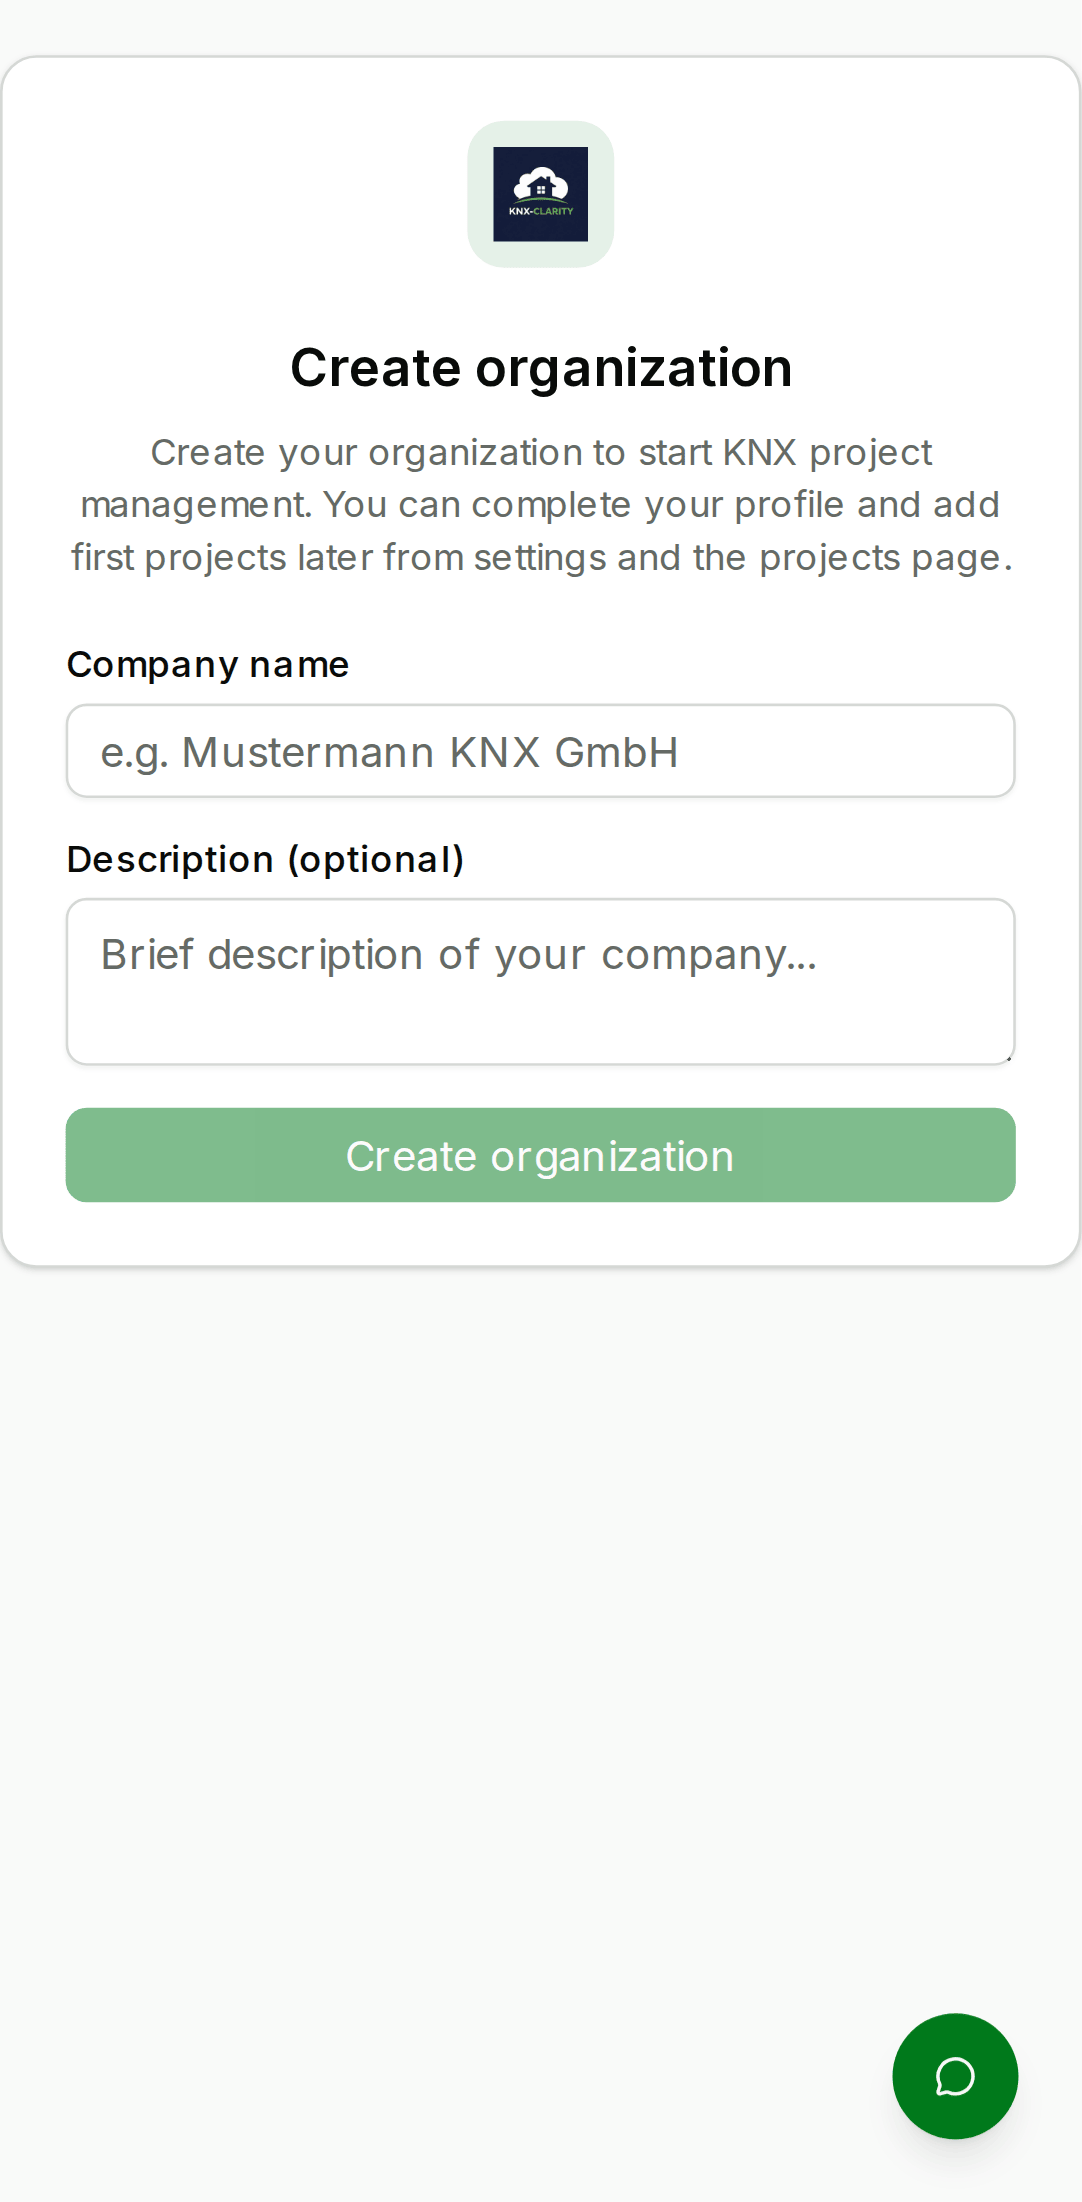
The account that creates the organisation automatically becomes its
owner with the admin member role. You can change this later on the
Team page.
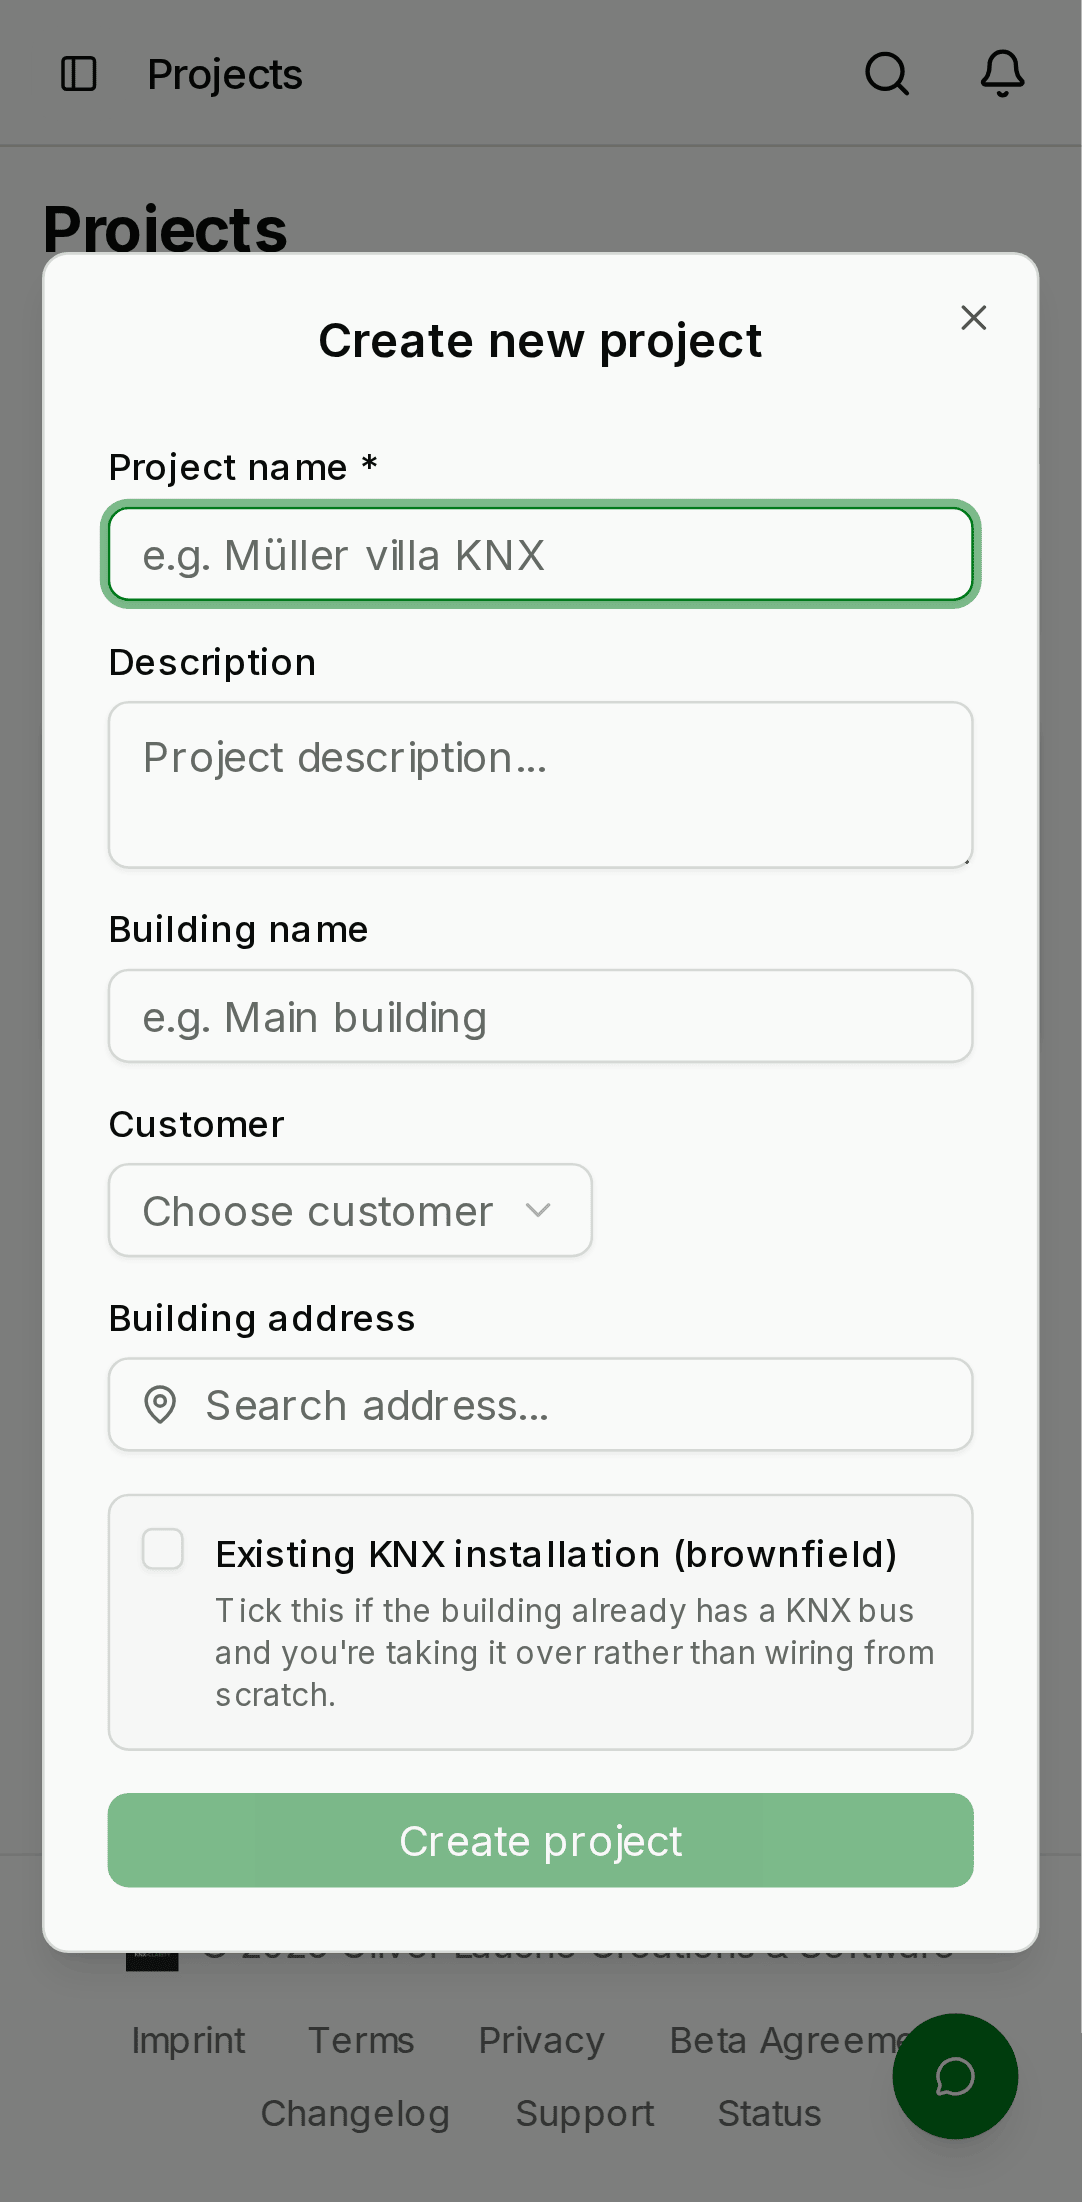
4. Create your first project
Once the organisation is ready you land on the Dashboard. The fastest way to get something on screen is to create a project:
- In the sidebar, click "Projects".
- Click "New project" in the top-right.
- Fill in at least the name; the other fields (customer, building name, description, address) are optional and can be edited later.
- Click "Create".
- Desktop
- Mobile

You now have an empty project. The next thing to do is upload an ETS export so the rest of the platform has something to work with — jump to ETS files.
5. Invite your team (optional)
If you're going to be the only person using the platform, you can skip this step. Otherwise, head to Team → Invite member. See Team for role semantics and invitation flow.
Troubleshooting
- I never received my verification code. Check spam. If it really didn't arrive, click "Back to sign in", click "Forgot password", and request a new code — the address is valid, the message just got lost.
- I see "No organisation yet" even after creating one. This usually means the session didn't pick up your new membership. Sign out from the avatar dropdown and back in.
- Sign-in works but the dashboard is blank. Open the browser console — most beta blockers surface there as a clear error. Send the error message to us via the in-app feedback button (bottom-right on every page) or at info@knx-clarity.com.